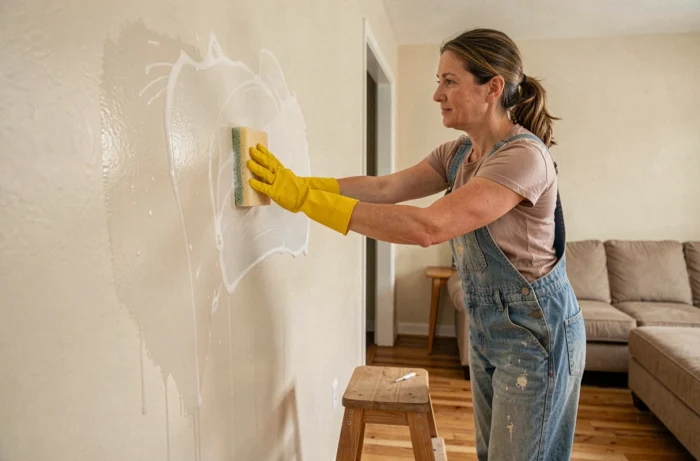
A wall that appears clean to the naked eye can sabotage a fresh coat of paint in just a few weeks. Embedded dust, greasy film near switches, micro-deposits of nicotine: these invisible residues prevent the paint from adhering evenly. Washing before painting corrects this issue, provided that new marks are not created while trying to remove the old ones.
Plasterboard, coating, or cement wall: the substrate dictates the method
You may have noticed that a too-wet sponge leaves a halo on some walls, while it glides without marking on others? The difference lies in the substrate.
A plasterboard wall with a matte finish absorbs water very quickly. Moisture penetrates the cardboard of the plasterboard and creates a visible ring even after drying. On this type of surface, the sponge must be wrung out as much as possible, almost dry to the touch. We are talking about a damp wipe, not a wash.
A cement coating or a wall covered with satin paint tolerates significantly more water. The surface is denser, less porous. You can then work with a genuinely damp sponge and rinse without fearing marks. Before starting, successfully performing a wall washing before painting first requires testing the absorption of the substrate in a discreet corner, behind a piece of furniture for example.
If a few drops of water disappear in less than five seconds, the wall is very absorbent. Switch to “damp wiping” mode with a minimally diluted product. If the water remains on the surface for several seconds before penetrating, you can work more freely.
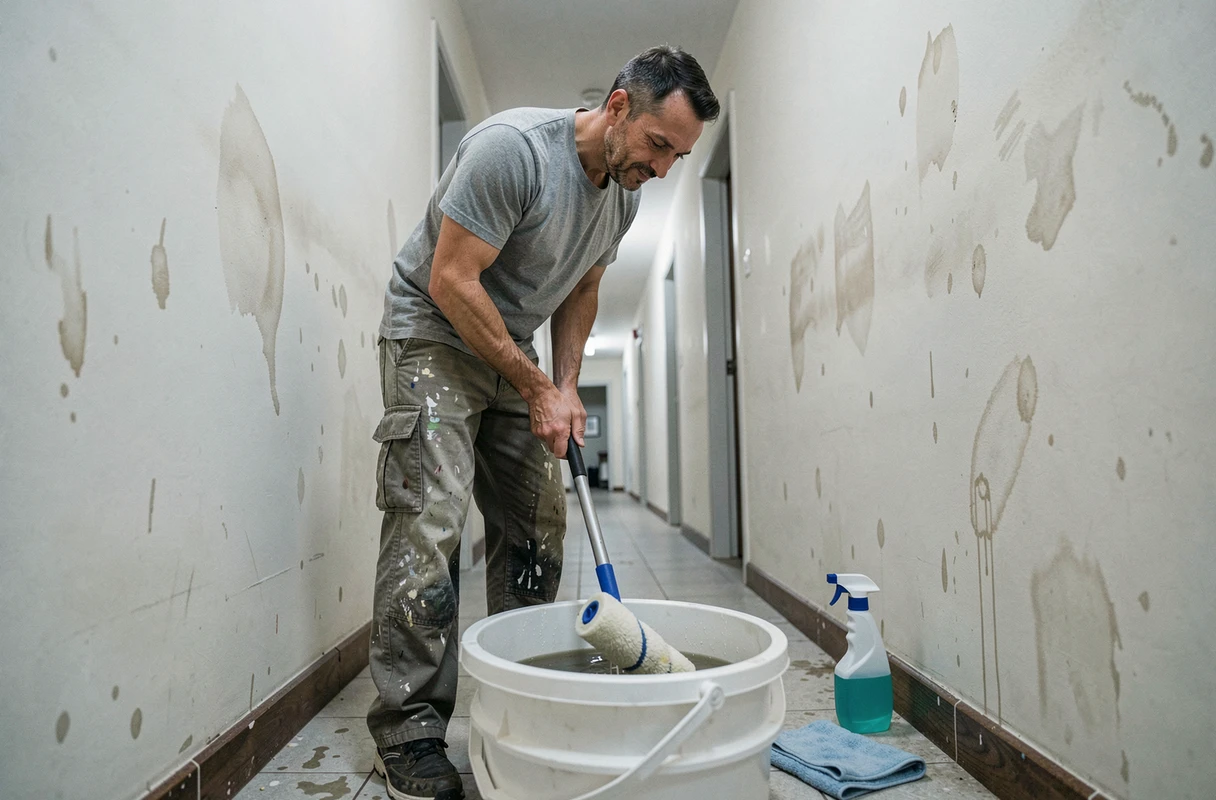
Wash a wall without waiting 24 hours for drying
Most guides recommend waiting a full day after rinsing before painting. In occupied renovations, with furniture in the middle of the room and a tight schedule, this delay poses a real problem. In humid housing, it can even double.
Active ventilation to speed up drying
A fan directed at the wall significantly reduces drying time. Moving air evacuates surface moisture much faster than an open window alone. The ideal is to combine the two: natural airflow and mechanical circulation.
Another often-overlooked point: the amount of water used during washing directly affects drying time. The less you wet, the less you wait. That’s why the two-bucket technique, detailed below, makes a real difference.
Identifying a wall ready to paint
Do not rely on surface touch. A wall may seem dry on the surface while retaining moisture at its core, especially on plasterboard or thick coating. Place the palm of your hand flat for a few seconds: if you feel residual coolness, the wall is not ready. Paint applied to a still-moist substrate produces bubbles, blisters, or a film that peels within a few months.
Two-bucket technique for a streak-free wall
The classic reflex is to dip the sponge in a single bucket containing water and product. The problem: with each pass, the sponge brings dirt back into the bucket. After a few square meters, you spread gray water on the wall.
The effective method relies on two distinct buckets:
- The first bucket contains the cleaning solution (Saint-Marc type detergent, diluted soda crystals, or black soap depending on the level of dirt).
- The second bucket contains clear water to rinse the sponge after each pass on the wall.
- The sponge always goes from the rinse bucket to the product bucket, never the other way around, to keep the solution clean for as long as possible.
Change the rinse water as soon as it becomes cloudy. On a kitchen wall or in a smoker’s room, this can happen after just two or three square meters.
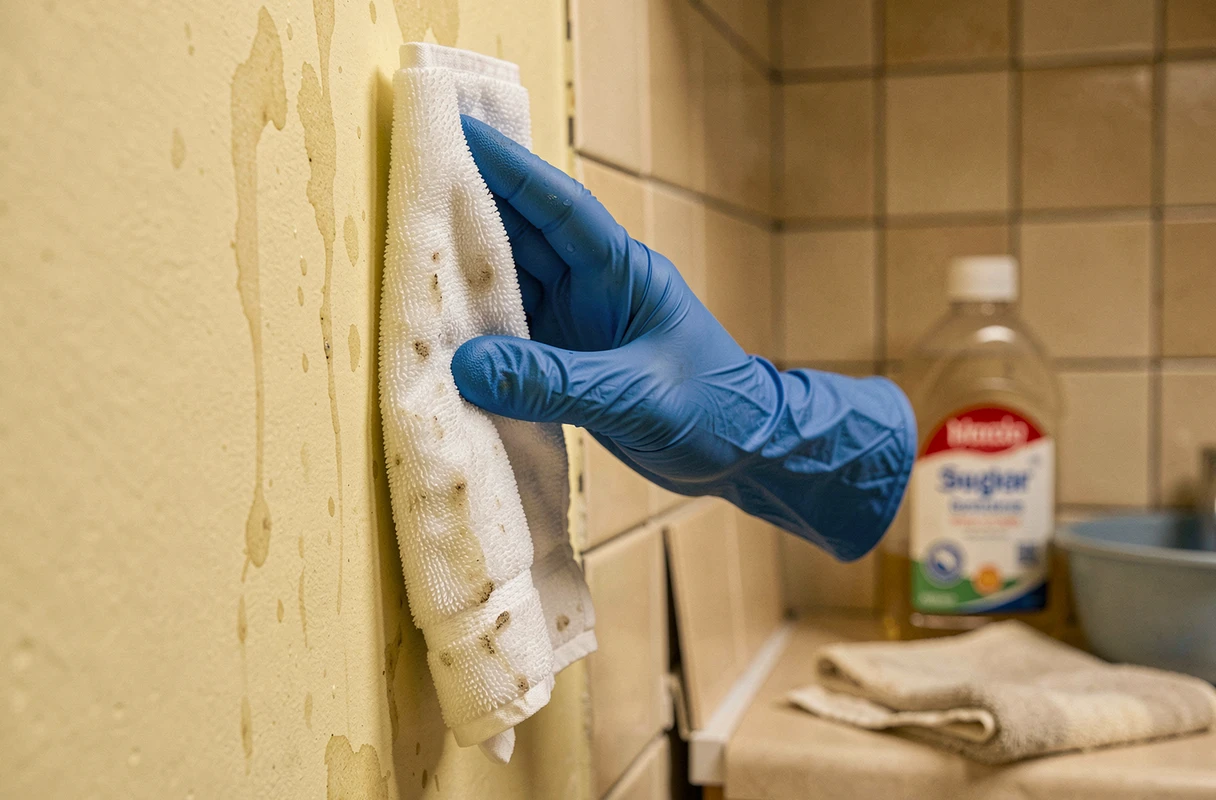
Localized greasy areas: treat separately before general washing
The edges of switches, the strip of wall behind a sofa, the area above a stove: these spots concentrate a greasy film that regular washing does not always remove in one pass.
Rather than overdosing the product on the entire wall (which increases the risk of streaks and prolongs rinsing), treat these areas first with a targeted degreaser. A bit of soda crystals dissolved in hot water, applied locally with a microfiber cloth, is sufficient in most cases.
Let it sit for a few minutes, then wipe before proceeding to wash the entire wall. Localized cleaning before the general pass prevents visible shade differences once the paint is applied.
Working direction and actions to avoid drips
You may have read that you should wash from top to bottom. In reality, starting from the bottom limits drip marks on the dry areas. A drop of dirty water that runs down a dry wall leaves a mark. The same drop on a surface that is already damp blends without leaving a trace.
Work in areas of about one square meter. Apply the solution, scrub with regular circular motions, then immediately rinse the same area with a clean sponge. Never let a soapy area dry before rinsing it: this is the main cause of persistent halos.
Another useful reflex: do not overload the sponge. Two light passes are better than one soaked pass. The wall absorbs less water, dries faster, and the paint adheres better.
Washing a wall before painting is not complex. The difficulty lies in the water dosage and patience during rinsing. A well-wrung substrate, rinsed area by area, dried with active ventilation, yields a clean result even when the schedule does not allow for a full day of downtime.